Weapon-focused
Prioritize the weapon or direct-damage lane you actually use. Add movement, posture or defense when missed uptime is the real limiter. Do not split into Kido just because a popular list calls it strong.
A practical, source-aware guide to spending build points in VV Ultimatum. Learn how to choose a primary goal, compare Weapon, Kido and Hakuda priorities, and avoid wasting a reset on a problem caused by route knowledge or equipment instead of stats.
Use the live Roblox experience to confirm current stat names, caps, costs and reset rules before spending resources.
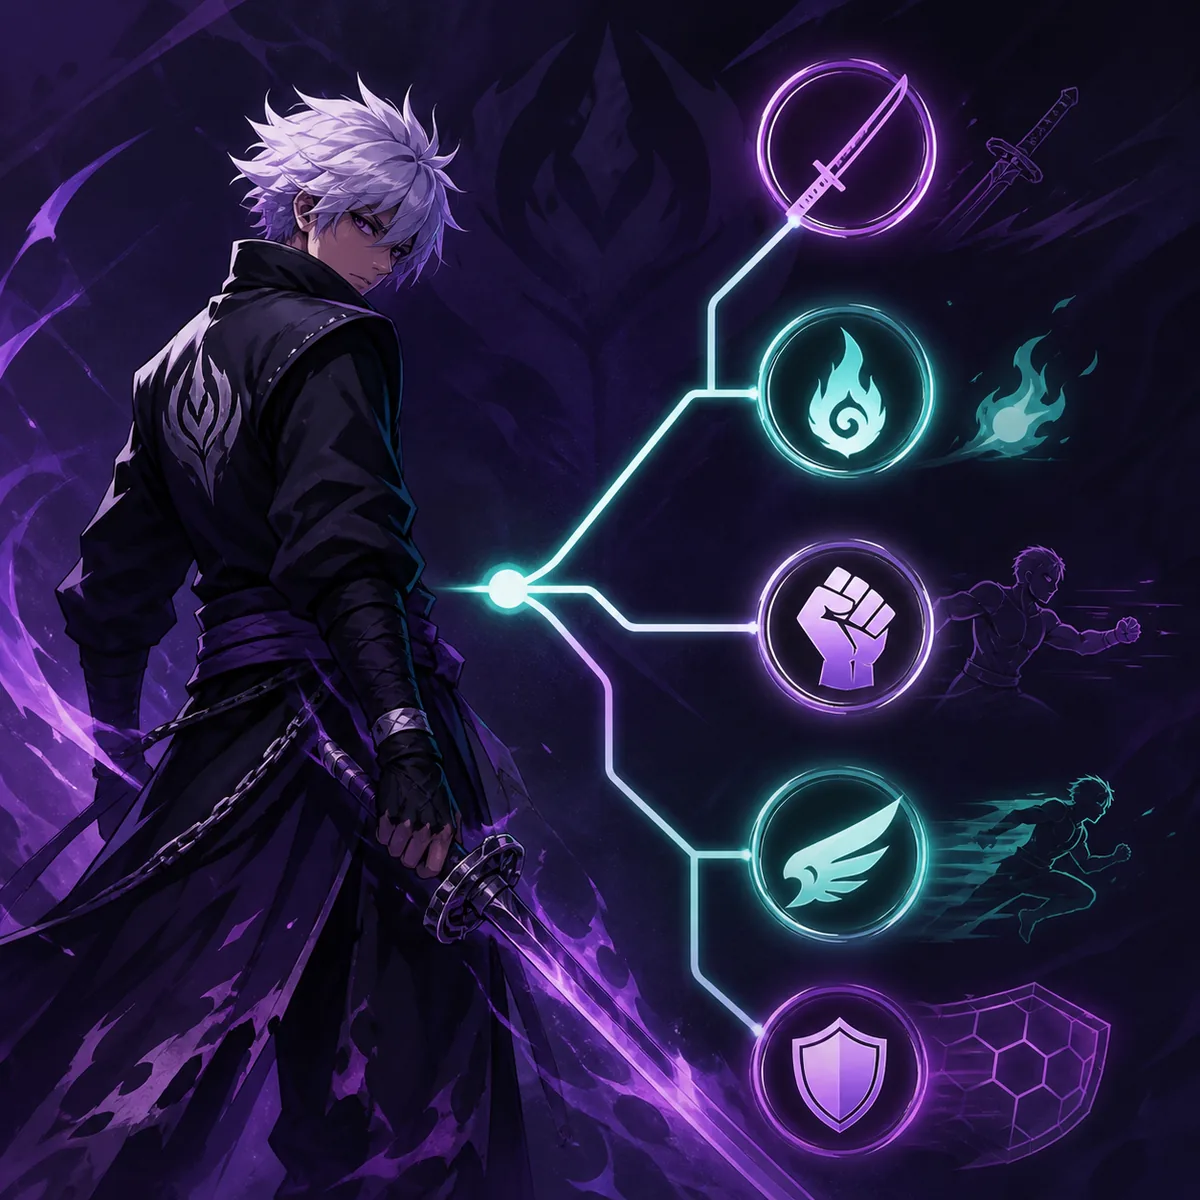
Build points are easiest to manage when they answer one clear question: what are you trying to clear more reliably? New players usually benefit from a forgiving damage route plus enough mobility or recovery to keep attacking. A boss farmer may value sustained uptime and survival, while a PvP player may accept harder timing in exchange for pressure and escape tools.
There is no permanent best build-points split for every faction, weapon or patch. Treat the table below as a starting framework, not an official stat formula. Confirm the current in-game labels and test one change at a time so you can tell whether the result came from your points, your skill tree, your equipment, or your route knowledge.
Start with the problem that stops your run. If you cannot stay in range, more damage will not help. If you run out of resource before a rotation ends, a pure offensive choice may underperform. Build points should make your intended play pattern easier to repeat.
Use a primary-and-support model instead of trying to raise every attractive stat at once. Put early investment toward the stat family that directly supports your weapon, spell, fist or route identity. Then add a smaller support layer for mobility, resource management, posture, health or recovery when that is the reason your current attempts fail.
This is also the cleanest way to compare advice from different players. A recommendation that is strong for a high-level PvP player may be frustrating for a new player farming quests. Ask what the build is designed to clear, what execution it assumes, and which patch or source the recommendation came from before treating it as your own answer.
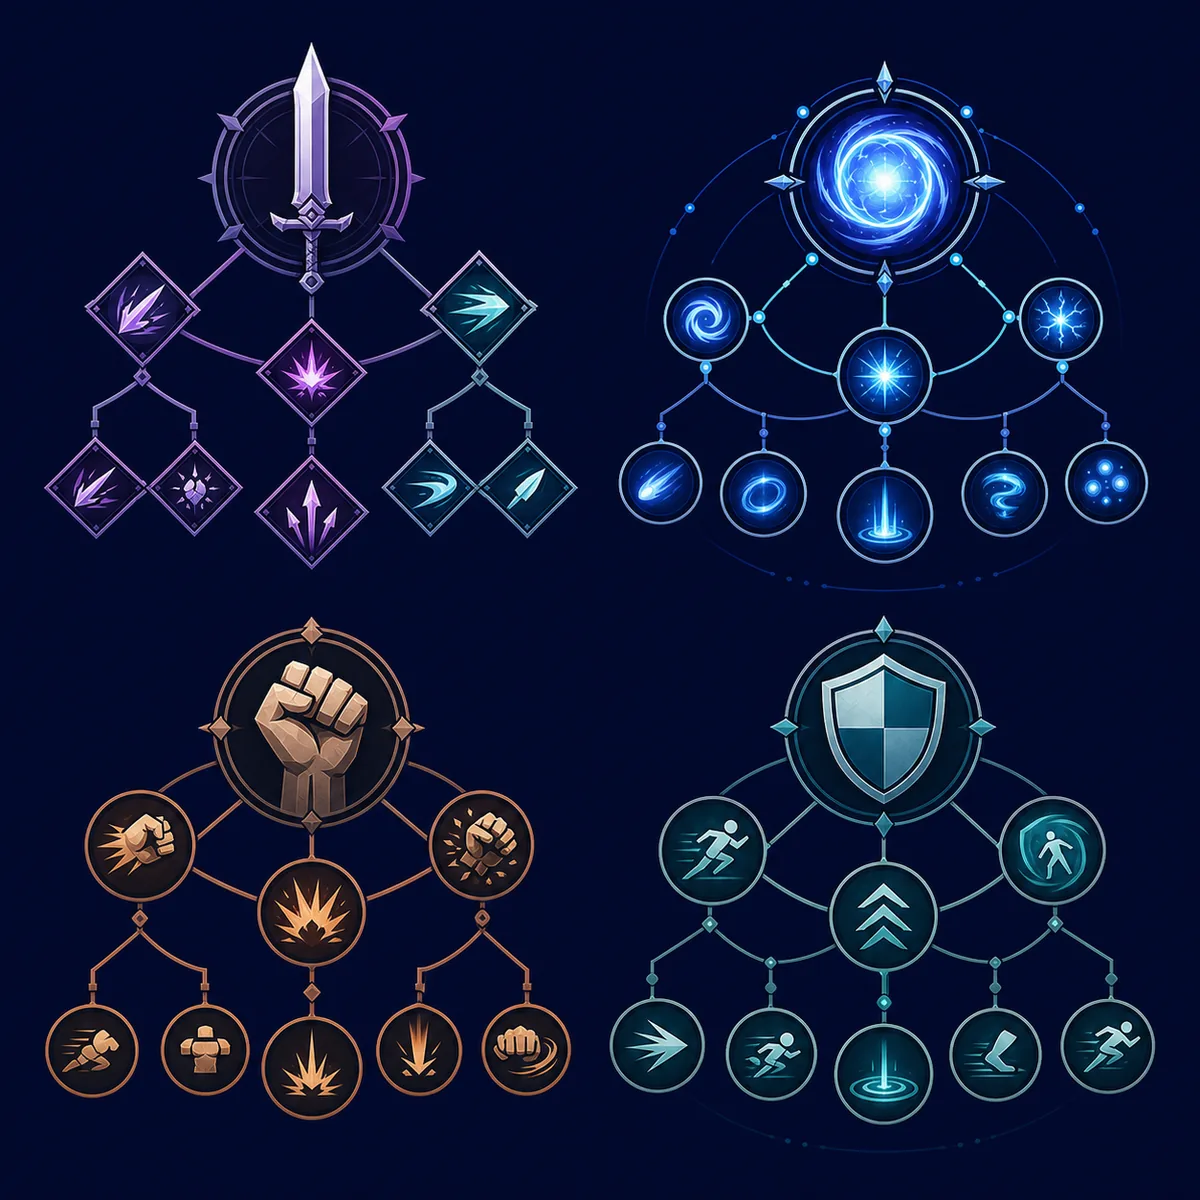
Prioritize the weapon or direct-damage lane you actually use. Add movement, posture or defense when missed uptime is the real limiter. Do not split into Kido just because a popular list calls it strong.
Make resource uptime, spell damage and safe positioning work together. A Kido route that empties its resource bar before the target is vulnerable needs sustain or timing help, not just more paper damage.
Close-range builds need a way to enter, stay active and recover. Use the Hakuda damage route as the core, then check stamina, movement and posture before chasing a glass-cannon split.
Reliable clears are usually more valuable than a difficult meta route. Favor forgiving recovery, repeatable damage and enough defense to learn boss patterns before spending rare reset resources.
Soul Reaper, Hollow, Arrancar and Quincy advice should be treated as route-specific examples. Verify the live requirement and build around the content you play instead of importing another faction's stat assumptions.
The table is deliberately about priorities rather than invented exact numbers. Use it to diagnose what to change, then verify the current stat names and caps in the live game.
| Goal | Put first | Add next | Avoid |
|---|---|---|---|
| Beginner leveling | Simple damage and forgiving recovery | Mobility, defense or resource comfort | Copying a late-game PvP split before learning the route |
| Boss farming | Sustained uptime and repeatable damage | Survival, posture or safe movement | A burst-only setup that fails after one missed combo |
| Weapon build | Your weapon damage lane | The support stat that protects attack uptime | Spreading points across every damage family |
| Full Kido | Kido damage and resource plan | Positioning, recovery and defensive habits | Ignoring resource downtime because the tooltip looks strong |
| Hakuda pressure | Hakuda damage and entry tools | Stamina, mobility and posture recovery | A fragile split that cannot stay in range |
| PvP testing | A matchup-specific pressure tool | Escape, mobility and punish timing | Treating one old tier list as a universal answer |
Searches for build reset tokens often mix together build points, skill-tree refunds, clan rerolls, ability changes and quest rewards. Match the exact in-game label before you spend anything. A quest reward that returns skill investment is not automatically the same system as a Build Reset Token.
Before resetting, write down the current allocation and the problem you want to solve. If the character only feels weak because of an unfamiliar weapon, an incomplete route or an equipment modifier, a reset may remove progress without fixing the cause. If the live game confirms that your resource is the correct reset item, make one deliberate change and retest the same activity under similar conditions.
Reset rules can change with patches, quests, events and economy updates. The safest source order is the live game prompt, current official announcements, then dated Trello or Discord notes. Do not assume an old video still describes the current token cost, refund scope, level requirement or whether an entire skill tree is affected.
Write one sentence such as “I cannot keep damage uptime on this boss” or “my Kido rotation empties resource too early.”
Note the faction, weapon, skill-tree choices, equipment modifiers and build-point priorities so a reset has a before-and-after comparison.
Check the exact item, NPC, quest or menu wording in the live server. Do not treat a skill refund, clan reroll or Build Reset Token as interchangeable.
Reset the points that address the blocker, keep other variables stable and test the same quest, boss or matchup again.
If the current game does not clearly show the refund scope or cost, stop and verify it before spending the resource.

Most weak builds are not caused by one wrong point. They come from mixing a route, a weapon, a modifier and a goal that were never meant to work together.
They are part of your character's longer-term allocation choices. Use them to support a clear goal such as weapon damage, Kido, Hakuda, safer leveling, boss uptime or PvP pressure, then verify the live stat labels and limits.
Start with the Kido damage and resource plan that your current route can actually sustain. Add positioning, recovery or defense when those are the reason your rotation fails. There is no universal split without the current stat screen, weapon and target activity.
Use Hakuda as the primary damage direction, then support the way you enter and stay in close range. Stamina, mobility or posture recovery can be more useful than extra damage when you cannot maintain contact.
Confirm the exact reset item, quest, NPC or menu in the live server first. Search results can mix Build Reset Tokens with skill refunds and rerolls. Record your current setup, change one layer and retest instead of spending blindly.
Do not assume that it does. The refund scope can be version-sensitive, so read the current in-game description or official update wording before using the token.
No permanent answer fits every player. The best choice depends on faction, weapon, activity, execution comfort and the current patch. Use the tier list for comparison, then use this page to explain what you want your points to solve.